Why embellished nail art works
Nails are the smallest canvas you own, which is exactly why they’re the most fun to play with. They sit right next to your hands — the things you gesture with, the first people notice when you reach across a table — so a small detail reads up close in a way a necklace never does. And here’s the part that makes embellishments worth it: you don’t need a steady hand or years of freehand skill to make something look expensive. A single rhinestone, a cluster of crystals, a string of pearls, a row of studs — each one does the work for you. You’re not painting a masterpiece. You’re composing one.
The four elements below show up again and again for good reason. Each catches light differently, suits a different mood, and opens a different style. Pick the one that matches how you want to feel that day — sparkly, elegant, classic, or a little dangerous — and I’ll show you how to make it look deliberate instead of accidental.
Rhinestones
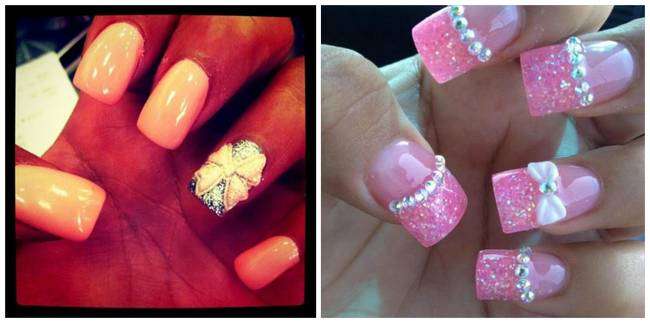
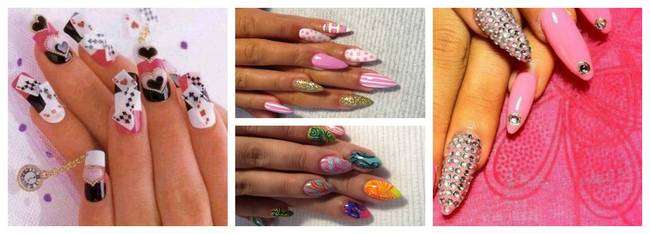
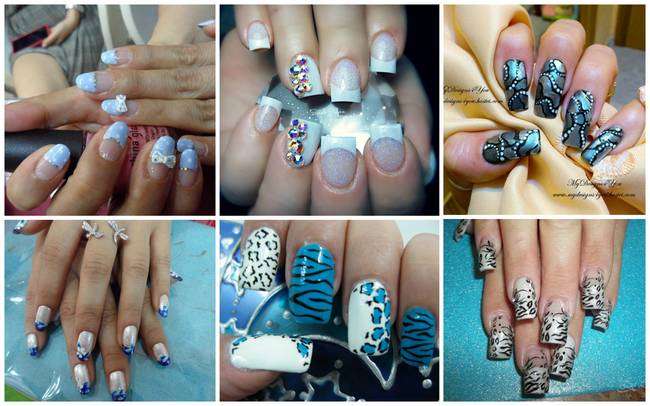
Rhinestones are the entry drug. They come in round, bicone, and faceted cuts, in every color and size, plus “AB” or coated versions that throw a rainbow of fire across the nail. Because they’re so small and so reflective, they’re the easiest way to look glam with almost no skill involved.
You can go quiet or loud: a single stone set at the base of one accent nail, a thin line down the center of each finger, a scatter across one hand like stars, or a full bedazzled nail for when you want zero subtlety. The trick to making it look designed rather than random is a rule of three — pick three stones (or three sizes) and repeat that pattern. Symmetry or a single diagonal line always reads cleaner than a handful placed by feel.
Use tweezers or a dotting tool to place them, a tiny drop of nail glue or the sticky residue of a wet top coat to hold them, and seal once they’re set. That’s it — that’s the whole technique.
Crystals
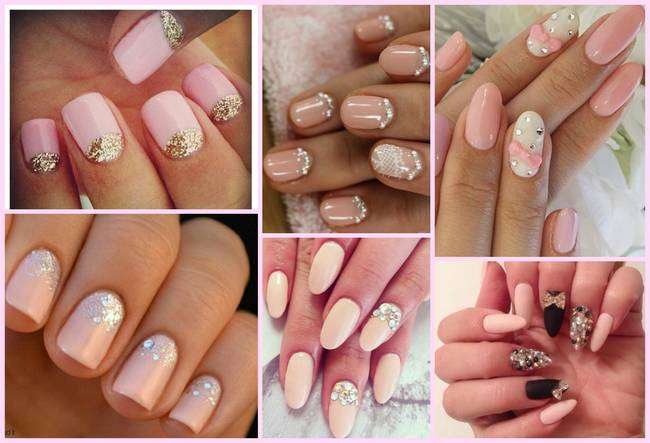
Crystals are rhinestones’ more expensive cousin — Swarovski, Czech cuts, metallic studs — and they carry themselves differently. Where rhinestones are playful, crystals read as refined. They’re the go-to for weddings, anniversaries, and anything where you want to look put-together rather than party.
The arrangement matters more here. A cluster on a neutral or nude base looks intentional when you size it in a gradient: biggest crystal in the center, smaller ones fanning outward. That mimics how light actually falls and keeps it looking like a gem resting on the nail instead of glued on haphazardly. Go full encrustation only when you’re going all-out — otherwise one statement nail is enough.
Pearls
If sparkle feels like a lot, pearls are your answer. They don’t flash; they give a soft, muted luster, which is why they read as timeless instead of trendy. Delicate single pearls, a curved line up the nail, or an all-over scatter all work, and they’re the one embellishment that can walk into an office and then straight to a dinner without changing outfits.
Pearls reward pairing. Set them over a marble swirl, alongside a fine lace print, next to a thin metallic line, or on top of a classic French tip, and you get depth a plain pearl on pink never would. They’re forgiving too — even a slightly imperfect placement looks deliberate because pearls are organic and hand-placed by nature.
Studs
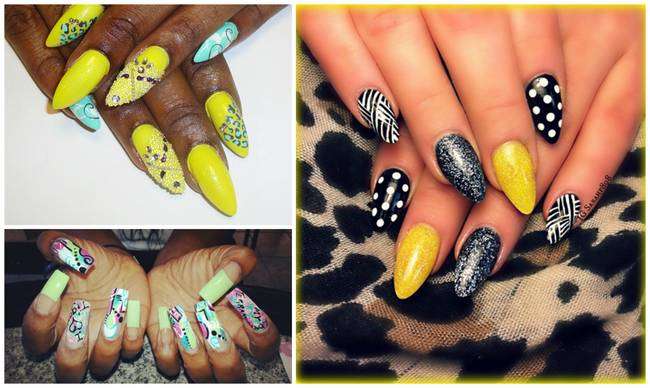
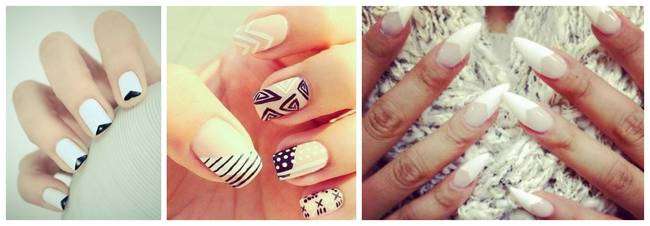
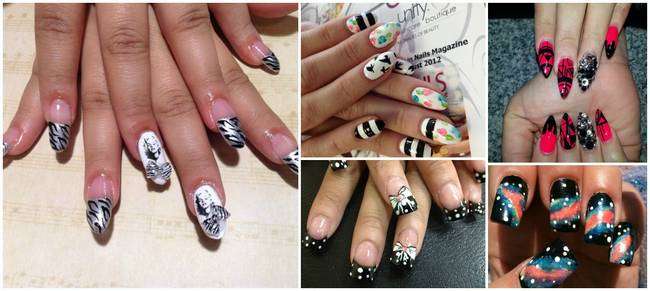
Studs are for when you want edge. Pyramid, hemisphere, spike, and geometric cuts in silver, gunmetal, or black add an instant dose of attitude that nothing else can. This is the alternative, punk, or minimalist-line look — think a single row along the free edge, a geometric pattern down one finger, or negative space between metal and polish.
Studs play best with bold or monochrome color: a deep red, an all-black set, or a single chrome nail. Keep the rest of your look simpler so the metal is the only thing competing for attention. The goal is “I meant to do this,” not “my nails had an accident.”
Make it last
Embellishments fail for one reason: they lift off an oily or unprepped nail. Wipe each nail with alcohol before you start so there’s no oil or lotion in the way, then apply your polish and let it fully dry.
- Glue the stones, pearls, or studs, then let the adhesive set before you touch anything.
- Seal with a thick top coat. For flat rhinestones you can sweep it right over them; for tall crystals and pearls, dab it around the base so you don’t bury them or push them sideways.
- Wrap the tip of the nail — that’s where lifts start.
- Avoid water for an hour or two after, and reapply a fresh top coat every few days to re-seal.
If you’re new to this, start with one accent nail, not all ten. It teaches you how the materials behave, costs less, and if you mess up you only redo one finger.
The takeaway
Nail art with embellishments is less about skill than about choices. Pick one element, one mood, and one placement rule, seal it properly, and your nails will look like someone else did the work for you. Start small, match it to what you’re feeling that day, and have some fun with it.
Nail Art: