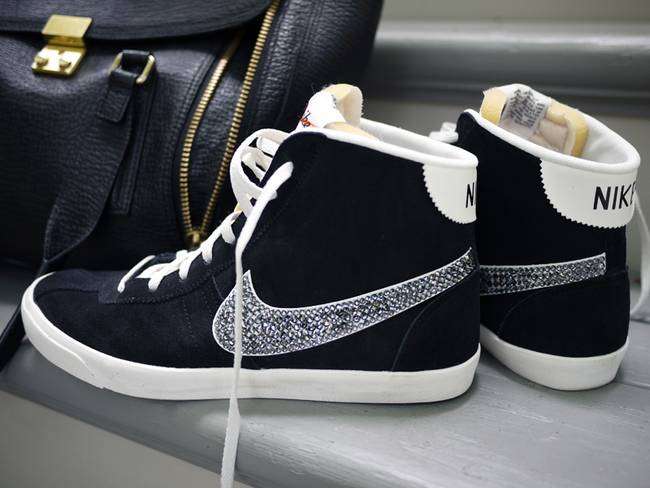
DIY Crystal-Studded Sneakers: How to Add Crystals at Home
A plain pair of sneakers and a handful of crystals can turn something you already own into the thing everyone asks where you got it. It sounds fussy, but it isn’t — most of it is just patience and a little glue. The trick that makes it actually last is using the right adhesive and the right kind of crystal, because that’s what keeps them from raining off your shoes after one walk down the street.
Think of it like pixel art. Each crystal is one pixel, and the logo on your sneaker is the picture you’re building. You lay the outline first, then fill the inside, dropping smaller crystals into the tiny gaps the round ones leave behind. Get the frame right and the rest just follows.
What you’ll need
- A pair of sneakers. Canvas, leather, or synthetic all work — canvas soaks up a bit more glue, so press the crystals down harder.
- Flatback crystals. The original calls for 300–400 of the 3.2mm and 400–500 of the 4mm round ones. “Flatback” matters: the back is flat so it sits flush and takes glue. Rounded-back “sew-on” crystals won’t work here.
- Jewel setter. Or make your own by wrapping a little beeswax around the tip of a skewer or toothpick. The wax grips the crystal so you can place it exactly where you want.
- E6000 adhesive. This is the one people reach for, and for good reason — it stays flexible when it cures, so the crystal moves with the shoe instead of cracking off. It’s also fairly water-resistant.
- Toothpicks. For getting glue out of the bottle and onto the shoe without flooding the area.
- Cardboard or a disposable surface. To dollop the glue on so you don’t glue your table too.
Optional but worth it: rubbing alcohol and a cotton pad to clean the shoe first, and a little gloss sealant if you want an extra protective coat.
Clean the shoe first (don’t skip this)
The original guide jumps straight to glue, and that’s the mistake most people make. Wipe the area you’re working on with rubbing alcohol on a cotton pad and let it dry. Shoes come from the factory with a film of dust, dirt, and finishing oils, and glue doesn’t bond to any of that. Clean surface, strong bond. Skip it and the crystals lift right off the first time you sweat.
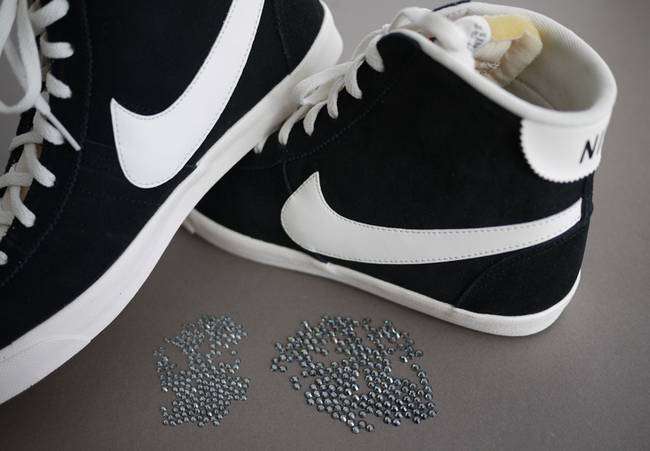
How to crystal-stud your sneakers
- Squeeze the glue onto cardboard. A small dollop is enough — E6000 comes out thick and you use less than you think.
- Glue a small section at a time. Use a toothpick to lay a thin line of glue along a small part of the logo’s outline. Work in small sections because E6000 skins over fast; glue the whole logo at once and it’ll start to set before you’ve placed anything.
- Pick up each crystal. Turn them all face up first, then touch your wax-tipped tool to the flat back of each one — it’ll hold. The wax lets you set them precisely and lift any that land crooked.
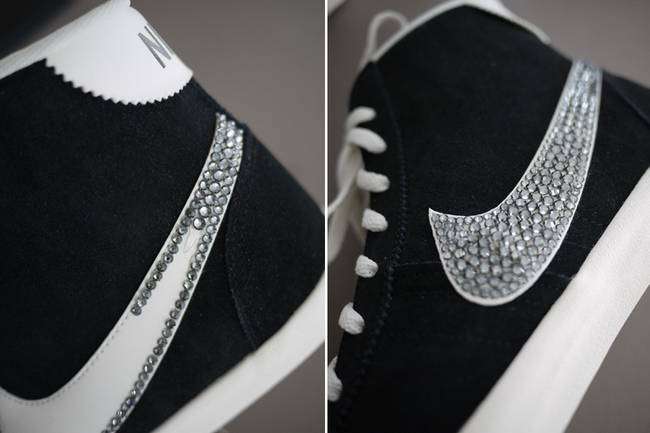
- Do the perimeter first. Place the smaller crystals one by one along the outline. This is your frame, and a clean frame is what makes the whole logo read as sharp instead of muddy.
- Fill the inside. Once the outline is set, fill the logo area with the larger crystals. The round ones won’t touch edge to edge, so use the smaller size to drop into the gaps they leave. That’s the pixel-filling step.
- Add glue as you go. Re-glue each small section before it skins over. Don’t try to cover more than you can place in a few minutes.


Let it cure — really cure
This is where impatience kills the project. E6000 feels dry on the surface in minutes, but it needs about 24 hours to reach a full cure and up to 72 hours to fully set. Don’t wear them, don’t bend the sole hard, don’t touch the crystals — for at least a day, and two or three is better. If you put them on while still tacky, the crystals shift and half come loose the first time you wear them. That patience is the whole difference between “they stayed on” and “they fell off.”
Optional: seal it
E6000 already holds well, so sealing isn’t necessary, but a thin top coat of gloss sealant adds a little extra protection and makes the crystals pop. If you use one, let it dry completely too, and don’t let it pool around the bases — you’ll get a cloudy film. Wipe off any wax residue from the setter with a damp cloth as you work.
Caring for them
- Don’t machine wash them. Soaking loosens the crystals over time. Spot-clean with a damp cloth and air dry.
- Keep them out of the washer and dryer. Heat and tumbling is how crystals end up in your lint filter.
- Re-glue loose ones. If one lifts, a tiny dot of E6000 and a press back into place fixes it. Keep a spare crystal and a small glue bottle around.
The mistakes that actually break it
- No surface prep. Glue on dust and oils just peels off. Clean with alcohol first.
- Wrong crystals. Rounded backs won’t sit flat. You need flatbacks.
- Too much glue. Puddles make crystals float and look messy. Thin lines only.
- Working too big a section. E6000 skins over — small areas only.
- Wearing them too soon. Under-cured crystals fall off. Wait the full cure.

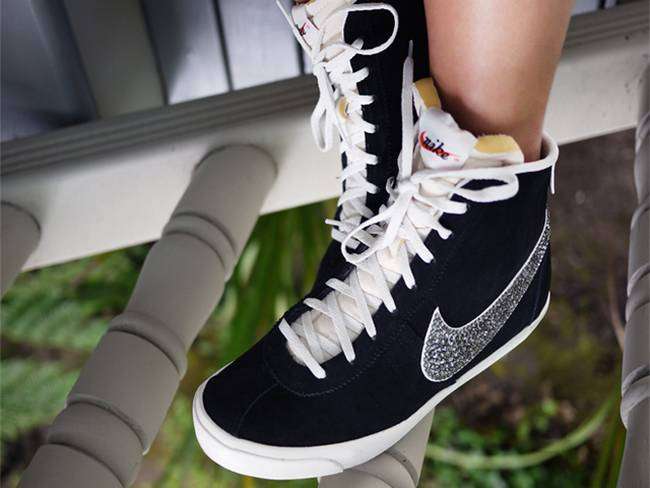
And that’s it. Once they’ve cured, you’ve got a pair of shoes that’s entirely yours and nothing like anyone else’s on the street. The real secret isn’t the crystals — it’s the glue and the patience. Get those right and they’ll keep shining for a long time.
Source: http://honestlywtf.com/diy/diy-crystal-studded-sneakers/